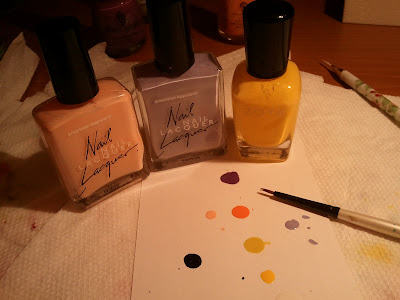
So I took this nail art idea from an amazing nail blogger (The Daily Nail) and here is the original:
http://daily-nail.blogspot.com/2011/04/funky-floral.html
I added some extra details but it's basically the same thing. Here's how I did it, it's really not hard at all.
What you need:
The nail polish I used is:
Spontaneous by China Glaze (purple)
Peachy Keen by China Glaze (peach)
White on White by China Glaze (white)
Teal the Cows Come Home by OPI (blue)
Fiercely Fiona by OPI (greenish yellow)
Black on Black by Sinful Colors (black) *not pictured above
Pro Fx Epoxy Bond Base Coat
You will also need two thin brushes (you can use painting brushes), a tooth pick, and some acetone. You need the acetone to clean the brushes in between uses. Also it's a good idea to wait for your coats to dry before you start decorating.
*Optional: wood stick to clean up any nail polish that gets on your cuticles.
First apply a base coat to protect your nails from staining, and allow to dry.
Next paint nails a shimmery blue color (or any color of your choice) and allow to dry.
Dab some nail polish on a sheet of paper. Then take a small thin brush and paint different colored little circles randomly throughout the nail. It doesn't have to be perfect.
Next take a thin brush with a slightly longer tip and draw flower petals. Again this doesn't have to be perfect.
Next take a black polish and a tooth pick make little dots in the middle of the flowers.
Now you can be done there, but I wanted to add a little depth, so I added lines on the petals using polishes that were slightly softer than the other colors.
Allow to dry before putting on top coat and you're done :)


No comments:
Post a Comment